• Make Your Own Hose Clamps

    More often than not I make my own hose clamps. Mostly because I found a tool a few years ago that just does so much of a better job than the screw gear hose clamps from the hardware store. I was given a ClampTite wire tool and a roll of stainless safety wire as a gift and had no idea what it was. It lingered in a junk drawer, still in the original packaging for a couple of years.

    Fast Forward a bit and I needed to connect some water pump hose RIGHT THEN, didn’t have a clamp, and remembered the weird thing in the drawer. This was before YouTube, so I had to read the paper instructions. The little thing worked like a charm! I found uses for it all over the place: poly hose, garden hose, reinforcing my file handles, fuel line on my then truck, a camp stove, capturing hooks on bungee cords, etc. I kept it in the truck because it seemed that I used it like once month. A couple of years ago, I dropped it into the depths of Lake Union in Seattle while doing something crafty with it. I missed that tool very much.

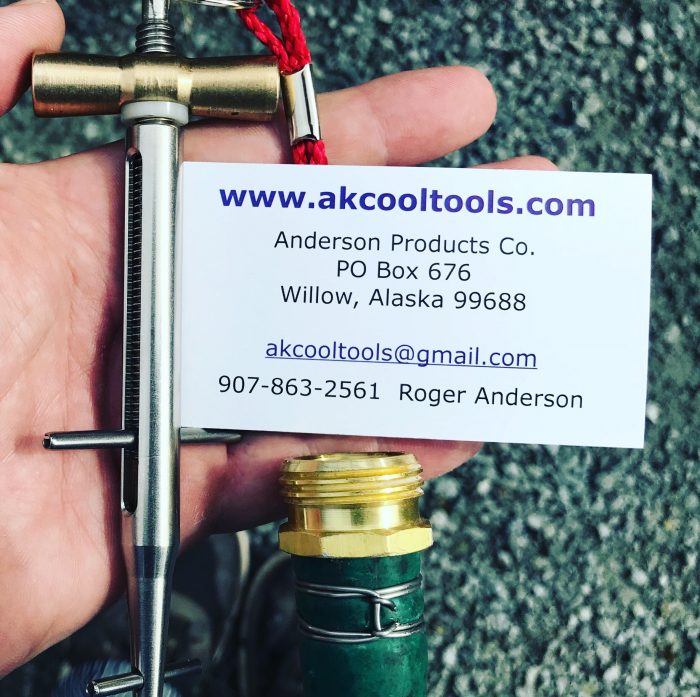
    A few months later, I was at the Port Townsend Wooden Boat Festival and there was a dealer there (AKcooltools.com) selling the stainless marine version (my original was aluminum). I told them how much I loved their tool and bought another one from them at the retail show price and I have used the bejesus out of it.

    Just for clarification, I am not getting any sort of deal or kickback from AKcooltools or ClampTite or anyone else for this or future planned purchases. I have no financial incentive for make a video about this product. I am just telling folks about something I found that was useful, a quality tool that saves me time, and a seller that was really nice to me and answered all my questions thoroughly.

    I am not the only one who has found the ClampTite to be awesome, there are folks on YouTube who use this tool/system on cars, boats, on tool handles, in roadside emergency kits, experimental light aircraft, hotrods, for crafts, fishing, hunting, off-roading, on the farm, etc… for both temporary and permanent fixes. Take a look at the links below the video link and you will see other converts.

    I am picking up another one of the aluminum versions for the Jeep and I would also like the heavy duty 10” model that handles 1/8” wire for a couple of large projects that I have planned for winter – saving my pennies.

  • Push Stick Build

    After cutting a notch in my last virgin push stick on the table saw, I decided that I needed another and documented the build process. Apparently, there are a number of handy folks doing the same on YouTube right now. My version was super simple and done in about 30-40 minutes from sketch to glue-up. I patterned the grip on an old hand saw grip and put in a little more palm swell. Works great and made from scrap that I had from a previous project or two.

  • Pimping Out a Shop Stool


    I have had a Harbor Freight rolling shop stool/sitting creeper for a while now and it just needed a little something. It worked fine and got used, but was just so plain and Harbor Freight-ish. An upgrade was needed and I decided to add a tractor/farm implement cast-iron seat to it.

  • Nail Apron

    There are times when you don’t want to or need to put on your leather nail bags to complete a small project, especially around the house. I had that quandary recently and decided to highlight the use of an old classic canvas nail apron. The one that I chose to demo happens to have been my Grandfather’s and dates from the late ’70s or EARLY ’80’s. I also discuss a few modern options for the discerning builder/tradesman/DIY machine/tool hoarder if my reasoning seems sound to you and you might want to include a short nail apron in your quiver of tools.

  • Stickers and a Branding Iron

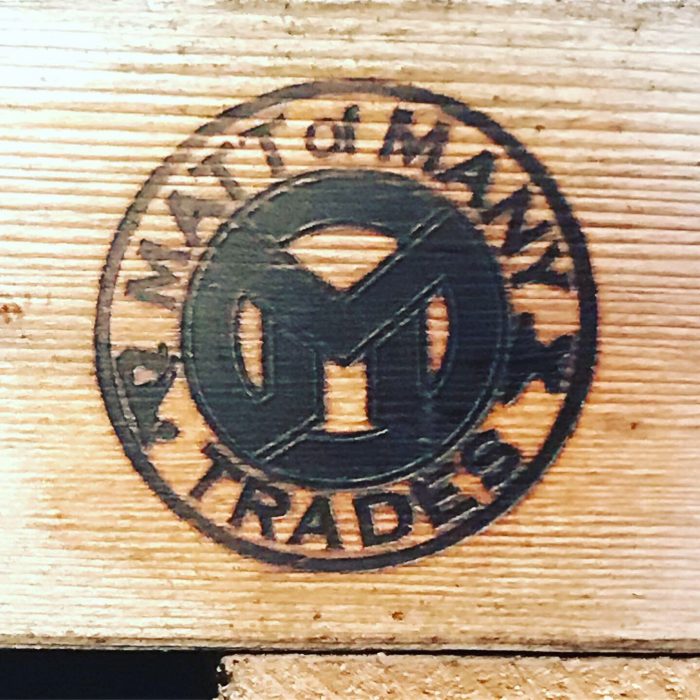
    I received a couple of SWEET packages last week: A pack of 200 Stickers for Sticker Mule (awesome to work with) with my logo/brand/makers mark on them and a copper branding iron of the same.  I.AM.SO.STOKED!!  The very first thing I did was conspicuously apply the stickers to all on my woodworking machines, car lift, end mill, metal lathe, welders, tool board and machine tools.  All my new films will have bits & bobs of them in the backgrounds of shots.  I now finally have stickers to respectively plaster on various surfaces at various locations – like my local coffee shop and at the local lumber yard!  I am including one with every piece I build and ship.  I have been handing them out to friends and other makers and I finally have stickers to trade at the meet-up and sticker swaps. 

    The brand is a whole other level of joy.   I sourced it from Maker’s Mark Branding and they were also a breeze to work with and very professional. 
    It came out REALLY nice, the details are crisp, and the shipping was in less than a week.

    I can now brand bowl bottoms, drawer sides, furniture backs, and leather goods.  I have just finished an outdoor bench and it was the very first thing that I applied the brand too, about 45 minutes after I opened the package…  My leather welding apron and welding jackets got the next brands.   I am very happy.

  • Butcher-block Kitchen Island

    We have a really small kitchen, as most were/are in a 1928 home. My sweet wife wanted a kitchen Island, but we just didn’t have the room. I put on my thunkin’ cap and figured out that a butcher block in the center of the room would give us some additional counter space and prep area. A plan for a custom gift started forming in my narrow monkey brain. I got super stoked about it, designed it up, and went wood shopping.

    My local hardwood dealer did not have the grade of maple that I wanted at a price that I was willing to pay, but that was a blessing in disguise. While still thinking and grumbling about just paying the steep price for the wood a week later, I found a company that sold semi-custom cutting board countertops and free standing blocks. Their second to the smallest one was exactly the dimension (24” X 18”) that I had planned to build for my wife and their cost, delivered to my dock at work, was about the same as just my material would be. That settled it. I bought the block and waited the 4 weeks for delivery. I don’t feel one bit bad that I did not build the whole thing.

    I surprised my wife with it and she asked that I paint the legs red to match the kitchen walls. I bought a can of pre-mixed Holiday Red General Finish Milk Paint from Woodcraft (I REALLY like using Milk Paint!) and put two coats on the legs. After the paint fully cured, I put two coats of satin marine spar varnish on.

    The top was finished with 4 coats of tung oil, drying 24 hours in-between coats, and I will redcoat every couple of months. They island looks GREAT in our kitchen and has given us both more space when making dinner. My wife is very happy with the addition and that is worth more than gold. The links the block company and my supplies are below:

    Bailey Block:
    https://www.butcherblock.com/product/monarch-12-end-grain-chopping-block/

    Holiday Red Milk Paint:
    https://www.woodcraft.com/products/general-finishes-holiday-red-milk-paint-pint h

    Spar Varnish:
    https://www.amazon.com/MCCLOSKEY-6505-Spar-Satin-full/dp/B0027UEW5K/ref=pd_lpo_sbs_60_img_0?_encoding=UTF8&psc=1&refRID=N5SJ8XTTHHVCNK8MKMJN

    Watco Tung Oil:
    https://www.homedepot.com/p/Watco-1-qt-Tung-Oil-266634/203369941

  • Festool Track Saw Rail Storage

    I tipped over my 55” Festool track saw rail and bent it along the spine. There was no fixing it and I said DIRTY words! It has almost happened 20 times and I kept “meaning to do something about it…” That painful monetary loss was the final push I needed to get the track off the floor and out from leaning on the walls of my shop. My wife left me unsupervised for the weekend and I spent like 22 hours in the shop over a two-day period designing, prototyping, making, and installing a track saw rail organization system. That amount of solid non-wife time would have been bad juju if she were at home.

    I do not have any easily accessed extra wall space, so I looked around, saw that both of my garage doors were empty and said, “Hmmm…” I decided to build a rack that would mount on the door, allow it to move without any removal of the rails, and keep the rails secure during the entire transit up and down. I ended up with a tiered slot design and because I have 5 different sized tracks, I made two sets of holders.

    It took some figuring and I tacked together 2 mock-ups, before I got it right. Each hanger (8 total) is made from 3 sections of ¾” ply and 6 sections 3/16” ply, all laminated together with Titebond II glue and the layers are secured together with two secondary opposing wood screws. Each bracket is fastened to the door with three #10-1” Sheet Metal screws and are all within 1/32” level across the entire 9’ door. The door moves up and down freely and the track rails don’t budge during the entire transit.

    Really proud of how these worked out and believed I was the smartest wood-necromancer that hath ever cast a man-glitter incantation – right up until I went on the Festool Forum to post/brag about my giant bucket of smarts and saw four VERY similar designs that were years old… I did a really quick drawing of my version of these and you can find it here:

    http://mattofmanytrades.com/wp-content/uploads/2019/07/Track-Saw-Bracket_Matt-Talley_2019.pdf

  • Changing the Oil

    Took 30 minutes on a cloudy Sunday afternoon to put the Jeep in the air and change the oil. I lubed the chassis while I was there. Necessary Maintenance that is well wort the time spent. Also, I only have 31 more oil changes until the lift pays for itself 🙂

  • Underground Lair Tool Organization Board

    I have a thing for tool organization. When I need a tool, I want to be able to put my hands right on it and not have to go digging around on a shelf or in a drawer and HOPE it got put back after the last use. I have my main toolbox shadowed in and have a hanging tool board on the machine/auto-shop side of the garage where 90+% of the tools I need on a regular basis hang at the ready. My underground lair has expanded rapidly and I felt that it was time to do something similar in terms of tool organization. After shadowing in the toolbox, I decided to install a medium-sized hanging tool board to hold leather working tools, a few mallets, printing press accessories, small hand tools like my collection of awesome Wiha German drivers, WD-40, calipers, canned air, and various other bits & bobs.

    I built the board itself out of scrap birch plywood, a single stick of leftover outside corner trim, and used leftover stain & paint. It is 48” wide and 30” tall. I either found printable tool holders online (mostly Thingyverse) or designed them myself before printing them out and installing. The tool holders are fastened with either #6-3/4” or #8-1” wood screws and all the holes were pre-drilled. There was a little bit of rearranging from my initial concept drawing, but not much. I will continue to add to the board as I add need or tools that I can’t live without while plotting world domination.

    A list of links for the various tool holders is below: Wrench/Crescent Wrench