This is a “How To” and a video diary for the installation of an Outgear Solutions Rear Tube Bumper for a Generation 2 Toyota Tacoma that we did on My Friend Dwayne’s truck. I have tried to include any and all measurements we took/used, as well as talking about or showing all the tools used for the job. I might suggest that you pick up a can of automotive primer and color matched spray paint for your truck before starting this install.
If you see any issues or something isn’t clear, let me know right away and I will address it or get back to you.
You can find Dwayne and the adventures of his truck at scum_taco on Instagram: https://www.instagram.com/scum_taco/?…
Ken has some amazing builds and race pics on his Instagram: bluecoyoteracing https://www.instagram.com/bluecoyoter…
You can find more automotive and 4X4 content on my Instagram as well: mattofmanytrades https://www.instagram.com/mattofmanyt…
Outgear Solutions: https://outgearsolutions.com/collecti…
Some Gen 3 bumper installs for reference: https://www.youtube.com/results?searc…
Rear lighted plate cover: https://www.amazon.com/dp/B01K57OO36/…
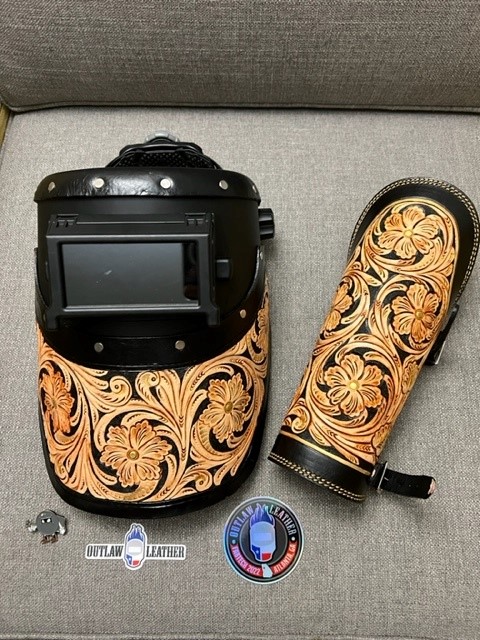
I was at the 2023 FabTech Tradeshow and wandered by the Outlaw Leather Booth. I could not leave without this hood and head shield. Hand-tooled Leather… TREAT YO’ SELF!!
This lucky maker is getting a new tool for the forge! I just slapped down the cash for a Coal Iron Works 16-ton hydraulic forging press – Damascus goodness here I come!

I am stoked to have my very own Hulk SMASH machine, a bunch of dies & accessories, and it will feature prominently in future videos and help change my entire production capability in the shop.

Our basement bathroom went without a vanity to entirely too long – just ask my wife… It was 100% my fault as I was burnt out on all things bathroom after the plumbing contractor fiasco that we had trying to get the new bath plumbed and house re-piped.
Enough time passed and I got back on the horse. After some internal debate and a couple of redesigns on paper, I ended up using an all-wood retail vanity box that I got a smoking deal on, then HIGHLY modifying it with structure, extra shelves, a pull-out top drawer, and granite top. I cut the granite and backsplash to fit and then drilled the holes for the waterfall facet and top-mount sink.
There was a tiny snafu with the drawer at the very end of the build, but I altered it a bit in the shop and if you don’t watch this video, you would never know that it wasn’t on purpose.
I think total cost for me to build and finish this was around $900, but that includes the base, additional material, paint, granite, sink and facet. Not bad at all for a “custom” fit, built-in, granite-topped vanity.
I spent a weekend taking a very old wrought-iron stair rail and an iron fence section to make a proper safe pathway to and from our exterior basement door. A little cutting, some welding, a tiny bit of forge work, paint, post hole digging, pouring 3 bags of concrete, 1 cut thumb, a few dirty words… BING-BANG-BOOM… An up-cycled fence and handrail was installed that should last another 100 years or so.
The garden stakes for the blueberries were looking a little ragged… Ok, a lot ragged! I decided to come up with a more permanent solution and while welding up a large piece of furniture, I took a few minutes and used a little weld bead for good.
I made eight signs, one for each vitality of tree that is planted. Materials used were 3 scrap sections of 1/4” think flat bar and some twice repurposed 24” long 1/2’ rebar that I had forged points on, welded a 1/2” washer, and had used previously as awning tent stakes.
I spent maybe an hour of time in total between cutting, welding, grinding, and bending the stakes. Maybe $5 of gas, $6 in electricity, and $2 of wire were used for plant ID signs that will last a lifetime and then some. I over-build stuff, it is what I do.
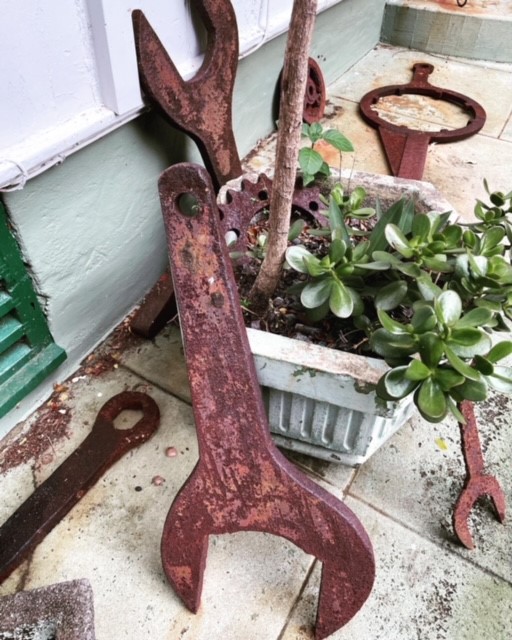
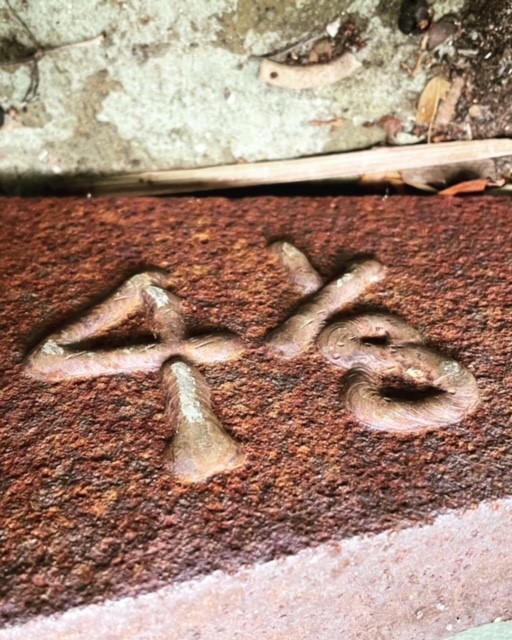
I saw these beauties while visiting the Island of Hawaii with my wife. We stayed at a former sugar plantation’s foreman/owners home on the south end of the island and there was history everywhere.
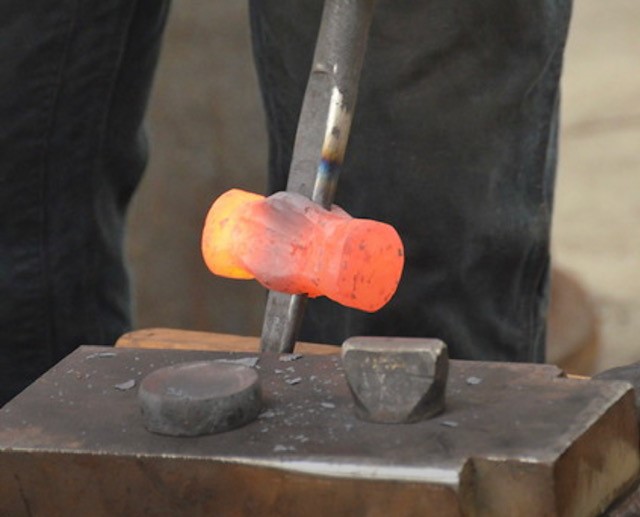
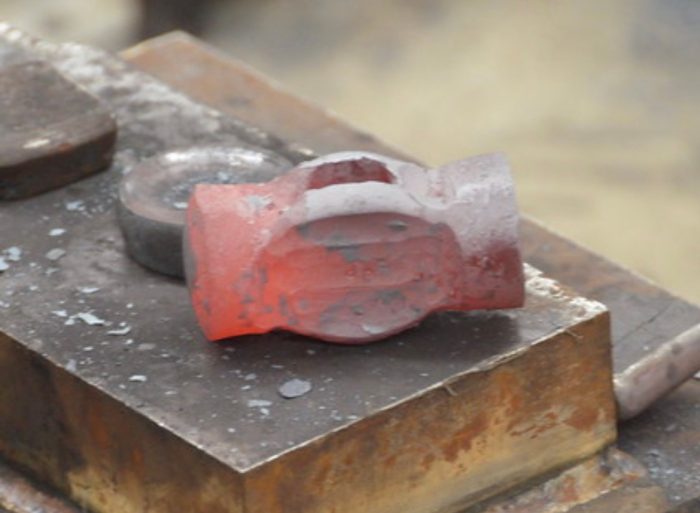
I have made wrenches before on my plasma table or with a torch, but never ones this big!

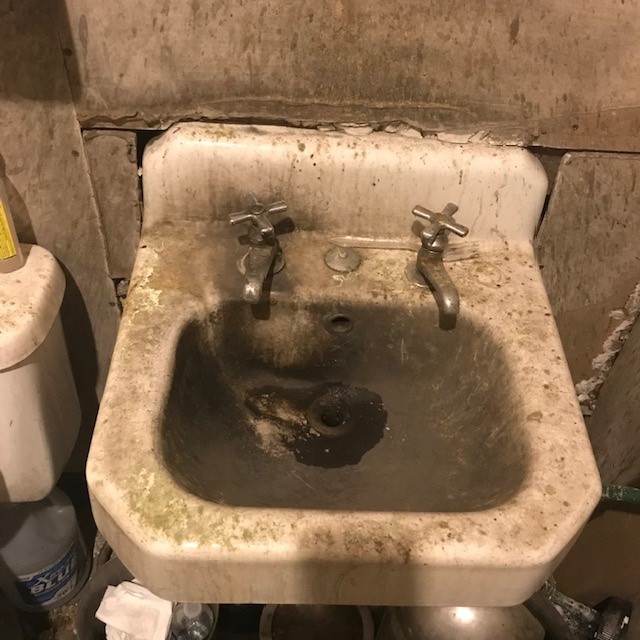
I found this sink in an auto shop that I bought some parts from! This is years of filth. If someone treats their shop like this, it bespeaks of their work and how they will treat your auto or home.
It was a horror show and if I come down with TB, Tetanus, or Monkey Pox, I got it here.
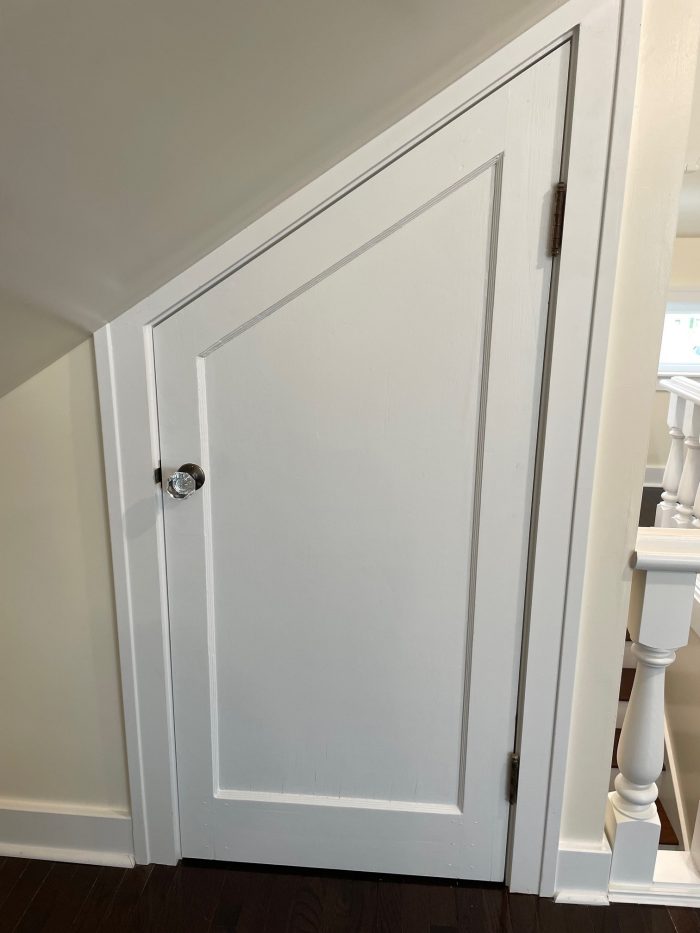
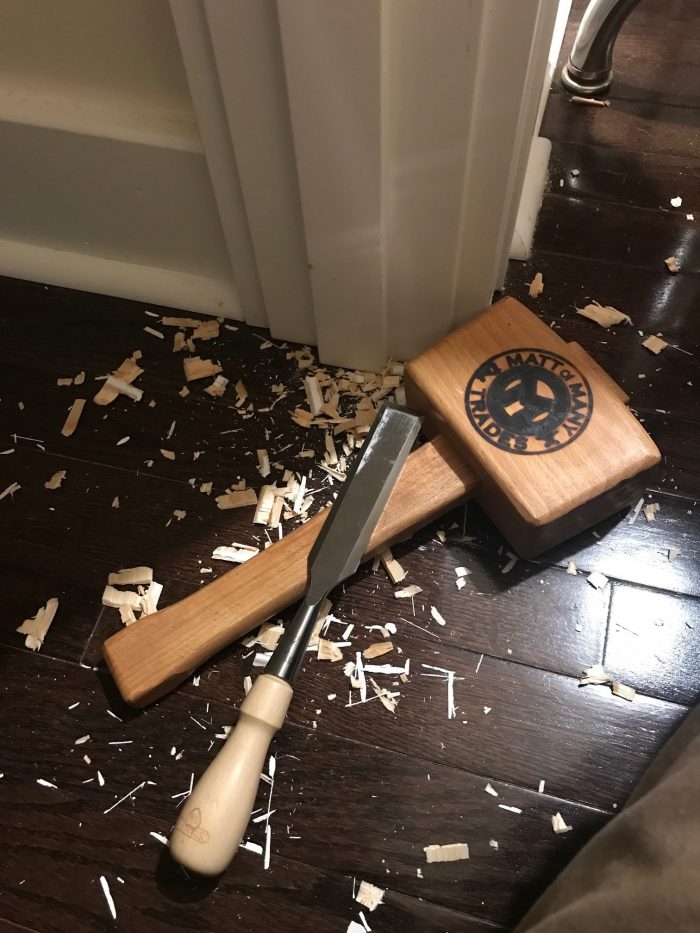
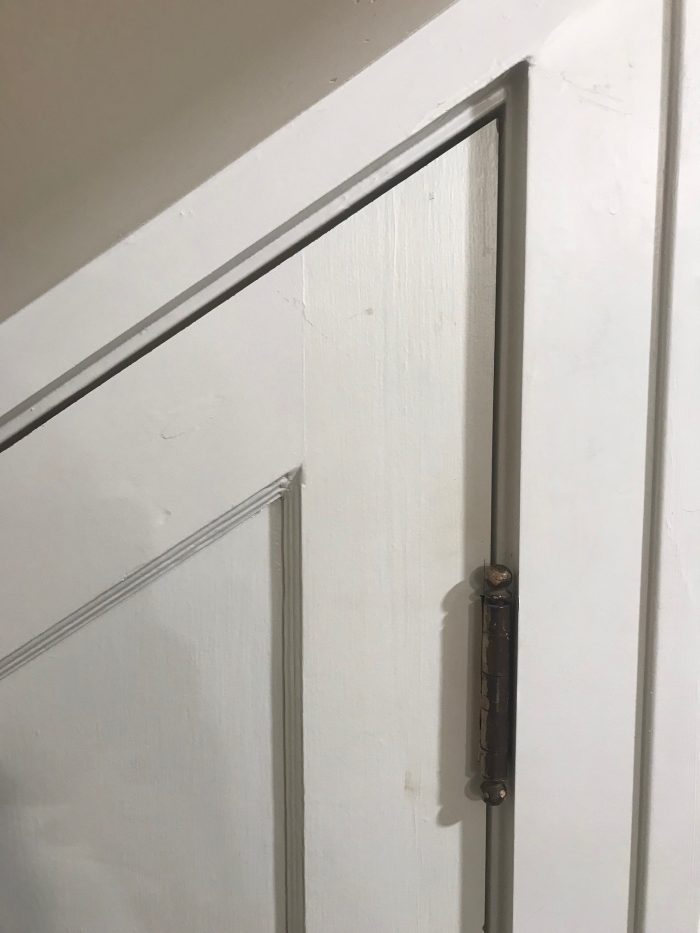
This is an attic closet door that I remade from an original full-height period appropriate door. There was some math, fancy cutting, use of molding planes and dowels to reinforce. It is now installed in our attic “harry Potter Closet” and this is why my wife pays me the BIG MONEY!!
Just kidding, I don’t get paid to make stuff at home. I am an indentured servant to her Pinterest account….