
New Stickers Ordered!


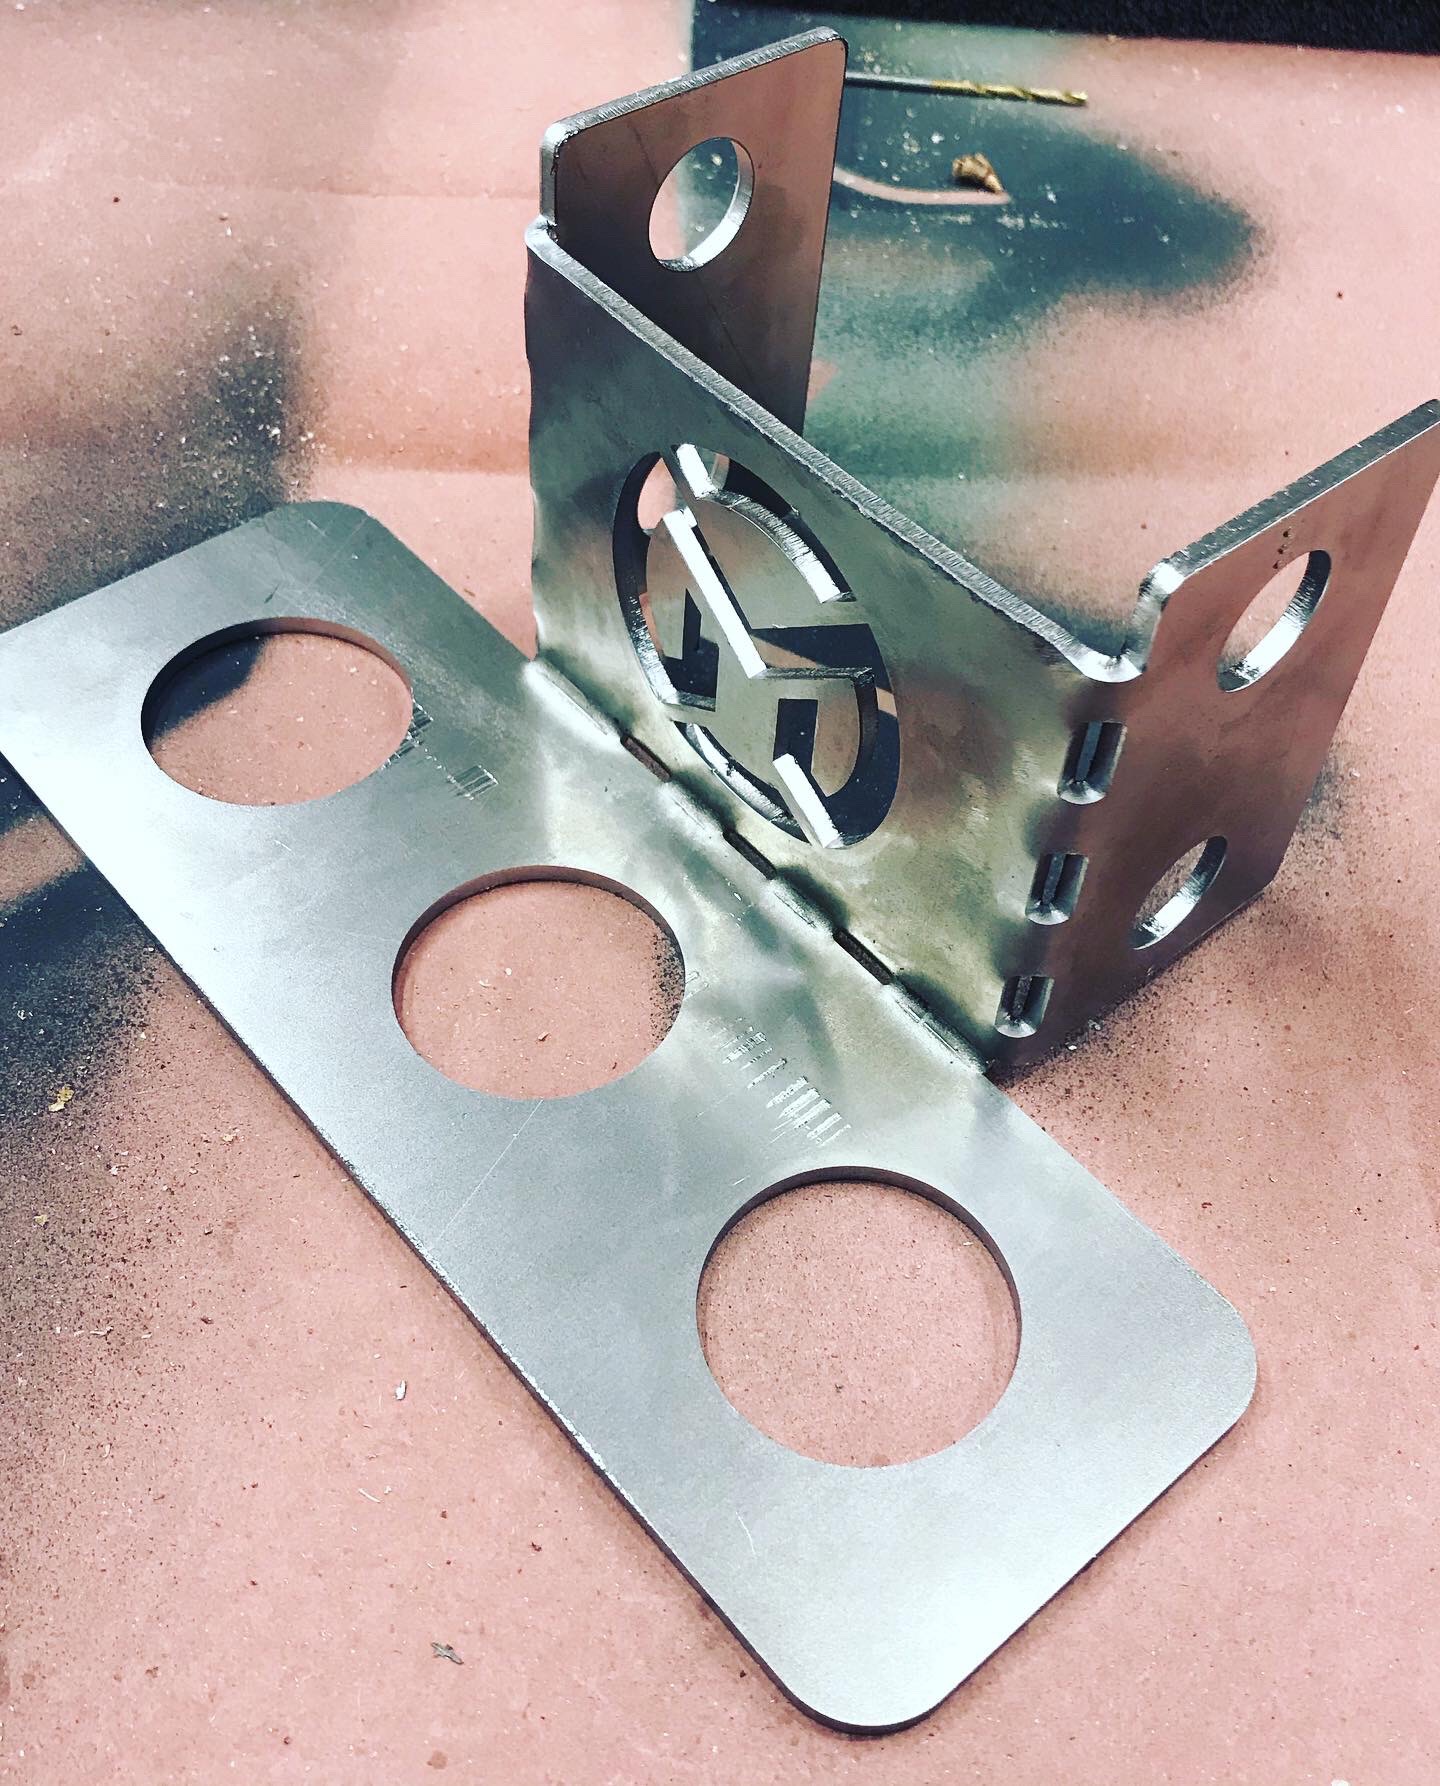
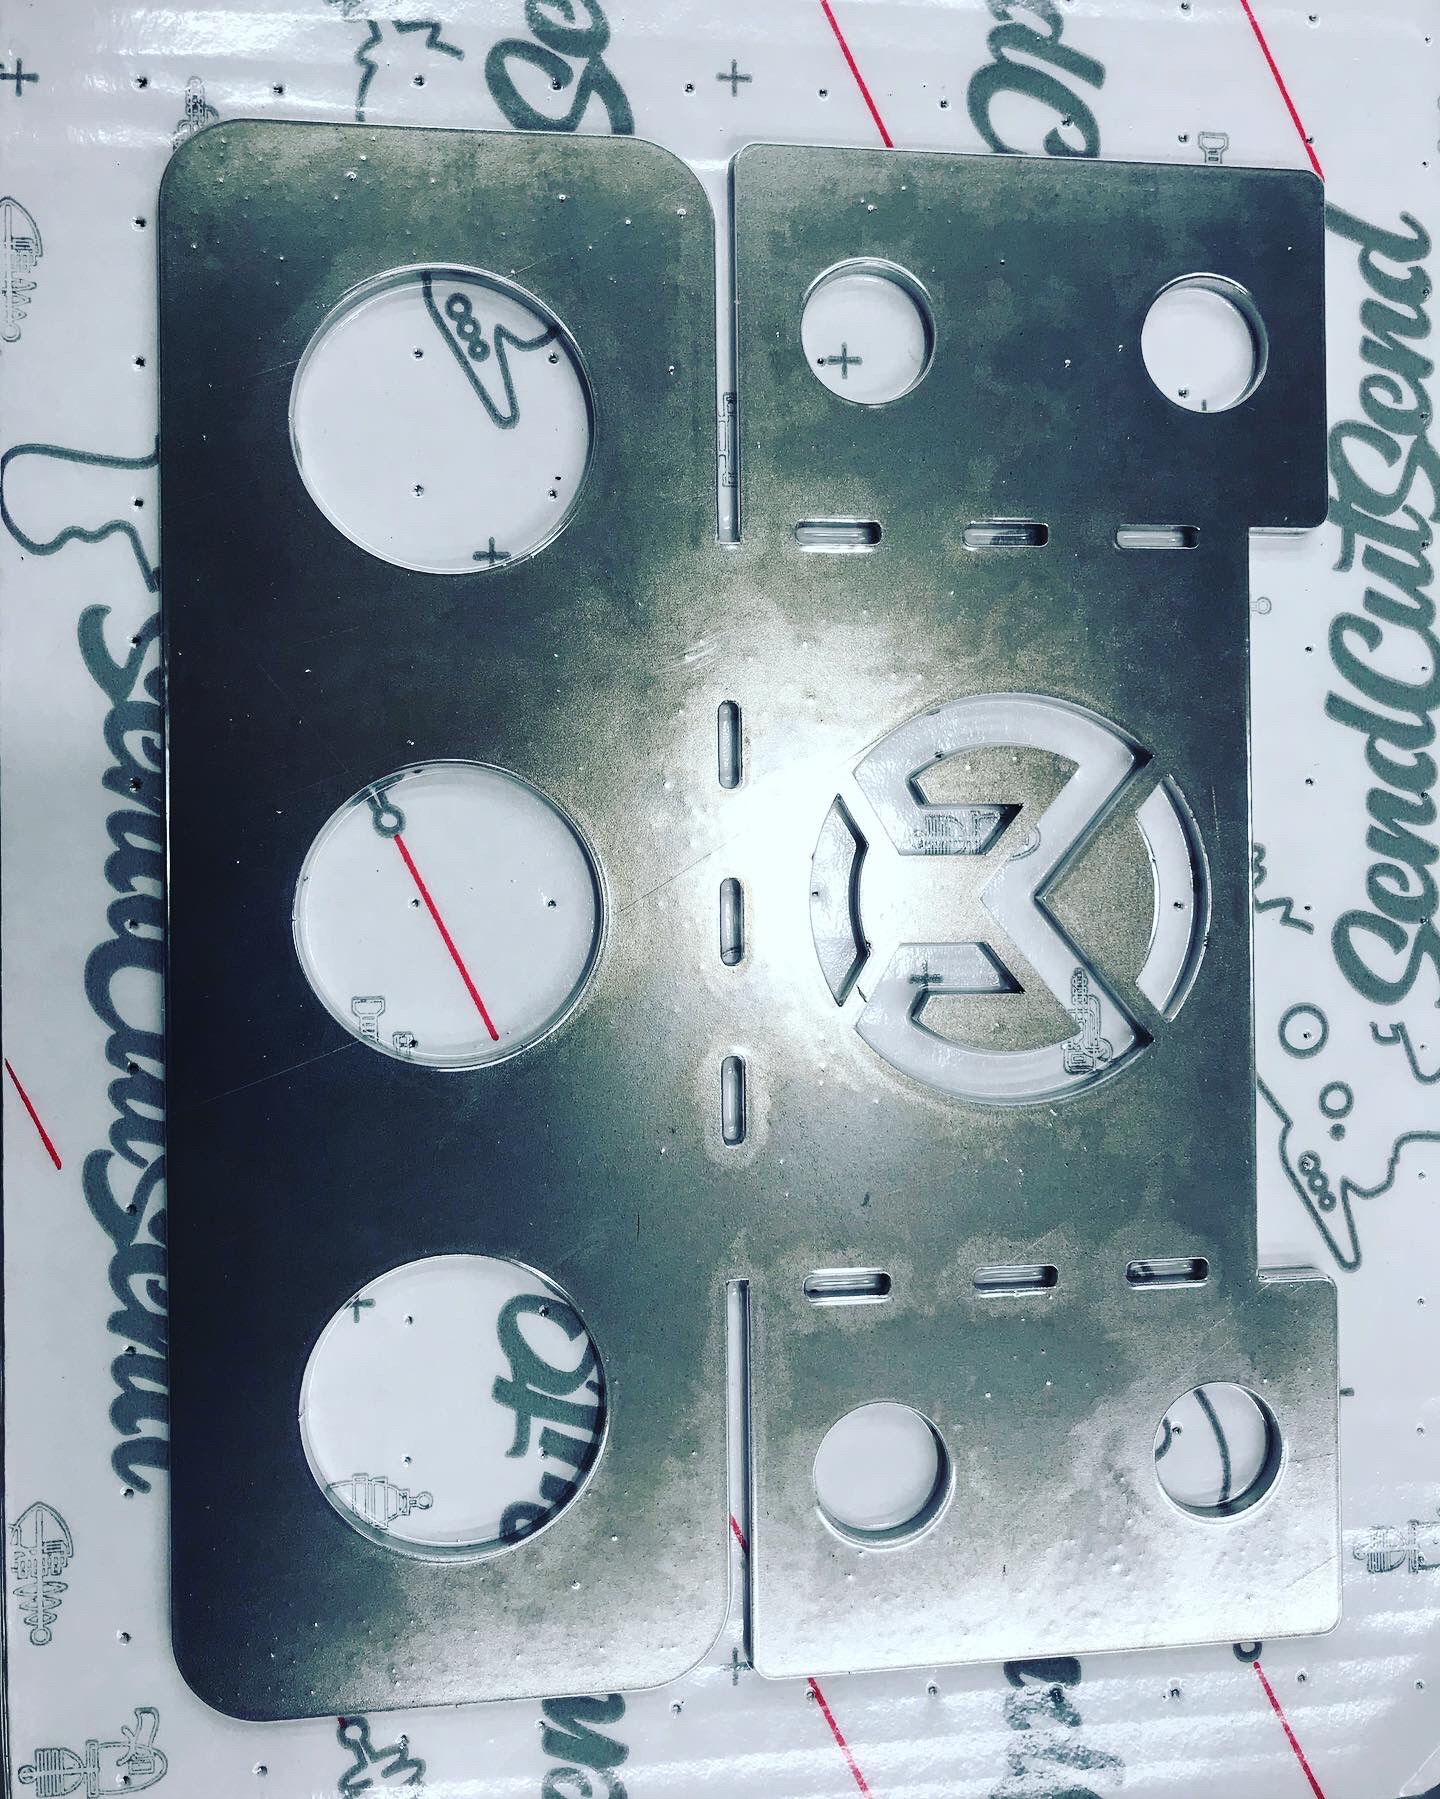
While my Harbor Freight 20-ton hydraulic press is super handy, I have modified it heavily – adding wheels, a bottom platform, air/hydraulic ram, a finger press break, etc. For the latter, I designed and made for ram arm extensions and decided that they needed a home pretty quickly. There was a fall/toe smashing incident… I drew up a little holder in Fusion360 and SendCutSend took care of cutting the 1/8” steel for me – delivered 3 days after I drew up the part. So happy with their service!
The holder was bent up in the SWAG finger break and I will do a little welding, deburr, priming, and painting before installation.
I really wanted my seldom used (just because it was such a manual chore to bend anything over 1” manual tubing bender off my workbench an onto a mobile stand, so over the Christmas break, I bought a load of steel, took a couple of days, and welded a stand together.
Some time later, when the sun finally came back out, I added a little paint and converted it from manual to hydraulic with the SWAG Off Road conversion kit and an 8-ton air/hydraulic ram from harbor freight. Yes, you can buy it from the OEM with hydraulics already attached, but I didn’t have the need or funds at the time of purchase. I knew it was an add-on option, so I wet manual, did the couple of jobs that paid for the bender and then stuck some ducats back here and there for the upgrade.
It took a while, but wasn’t too painful. It took a little work and sweat equity, but I am very pleased with the result. My bender is now mobile, I have 10 sq’ of bench space back, the bender dies now all have a home, AND the SWAG conversion makes using the bender a breeze now! Very happy with that addition and should have done it 2 years ago. I guarantee that my bender will now see more use and I will accept/find more projects that I can use it on.
JD2 Model 32 Tubing Bender:
https://www.jd2.com/model-32-tube-bender-manual
SWAG Off Road Hydraulic Kit:
https://www.swagoffroad.com/SWAG-Machined-Tubing-Bender-AirHydraulic-Ram-Mount-_p_117.html
SWAG Printed Release Knob:
https://www.swagoffroad.com/SWAG-3-D-Printed-Thumb-Knob-For-Flared-or-Cast-Cross-Pin-Bottle-Jacks_p_153.html
8-ton Air/Hydraulic Ram:
https://www.harborfreight.com/8-ton-long-ram-airhydraulic-jack-56215.html?ccdenc=eyJjb2RlIjoiMzgxOTkwMDkiLCJza3UiOiI1NjIxNSIsImlzIjoiNzQuOTkyNDk5OTk5OTk5OTkifQ%3D%3D&cid=paid_google%7C%7C%7C56215&utm_source=google&utm_medium=cpc&utm_campaign=&utm_content=&gclid=Cj0KCQiA88X_BRDUARIsACVMYD8OKgNKu3uI1pcv5kbGKY-79H8OSM-ZwKHnLSS6B7322sb711cCIyQaAi4rEALw_wcB

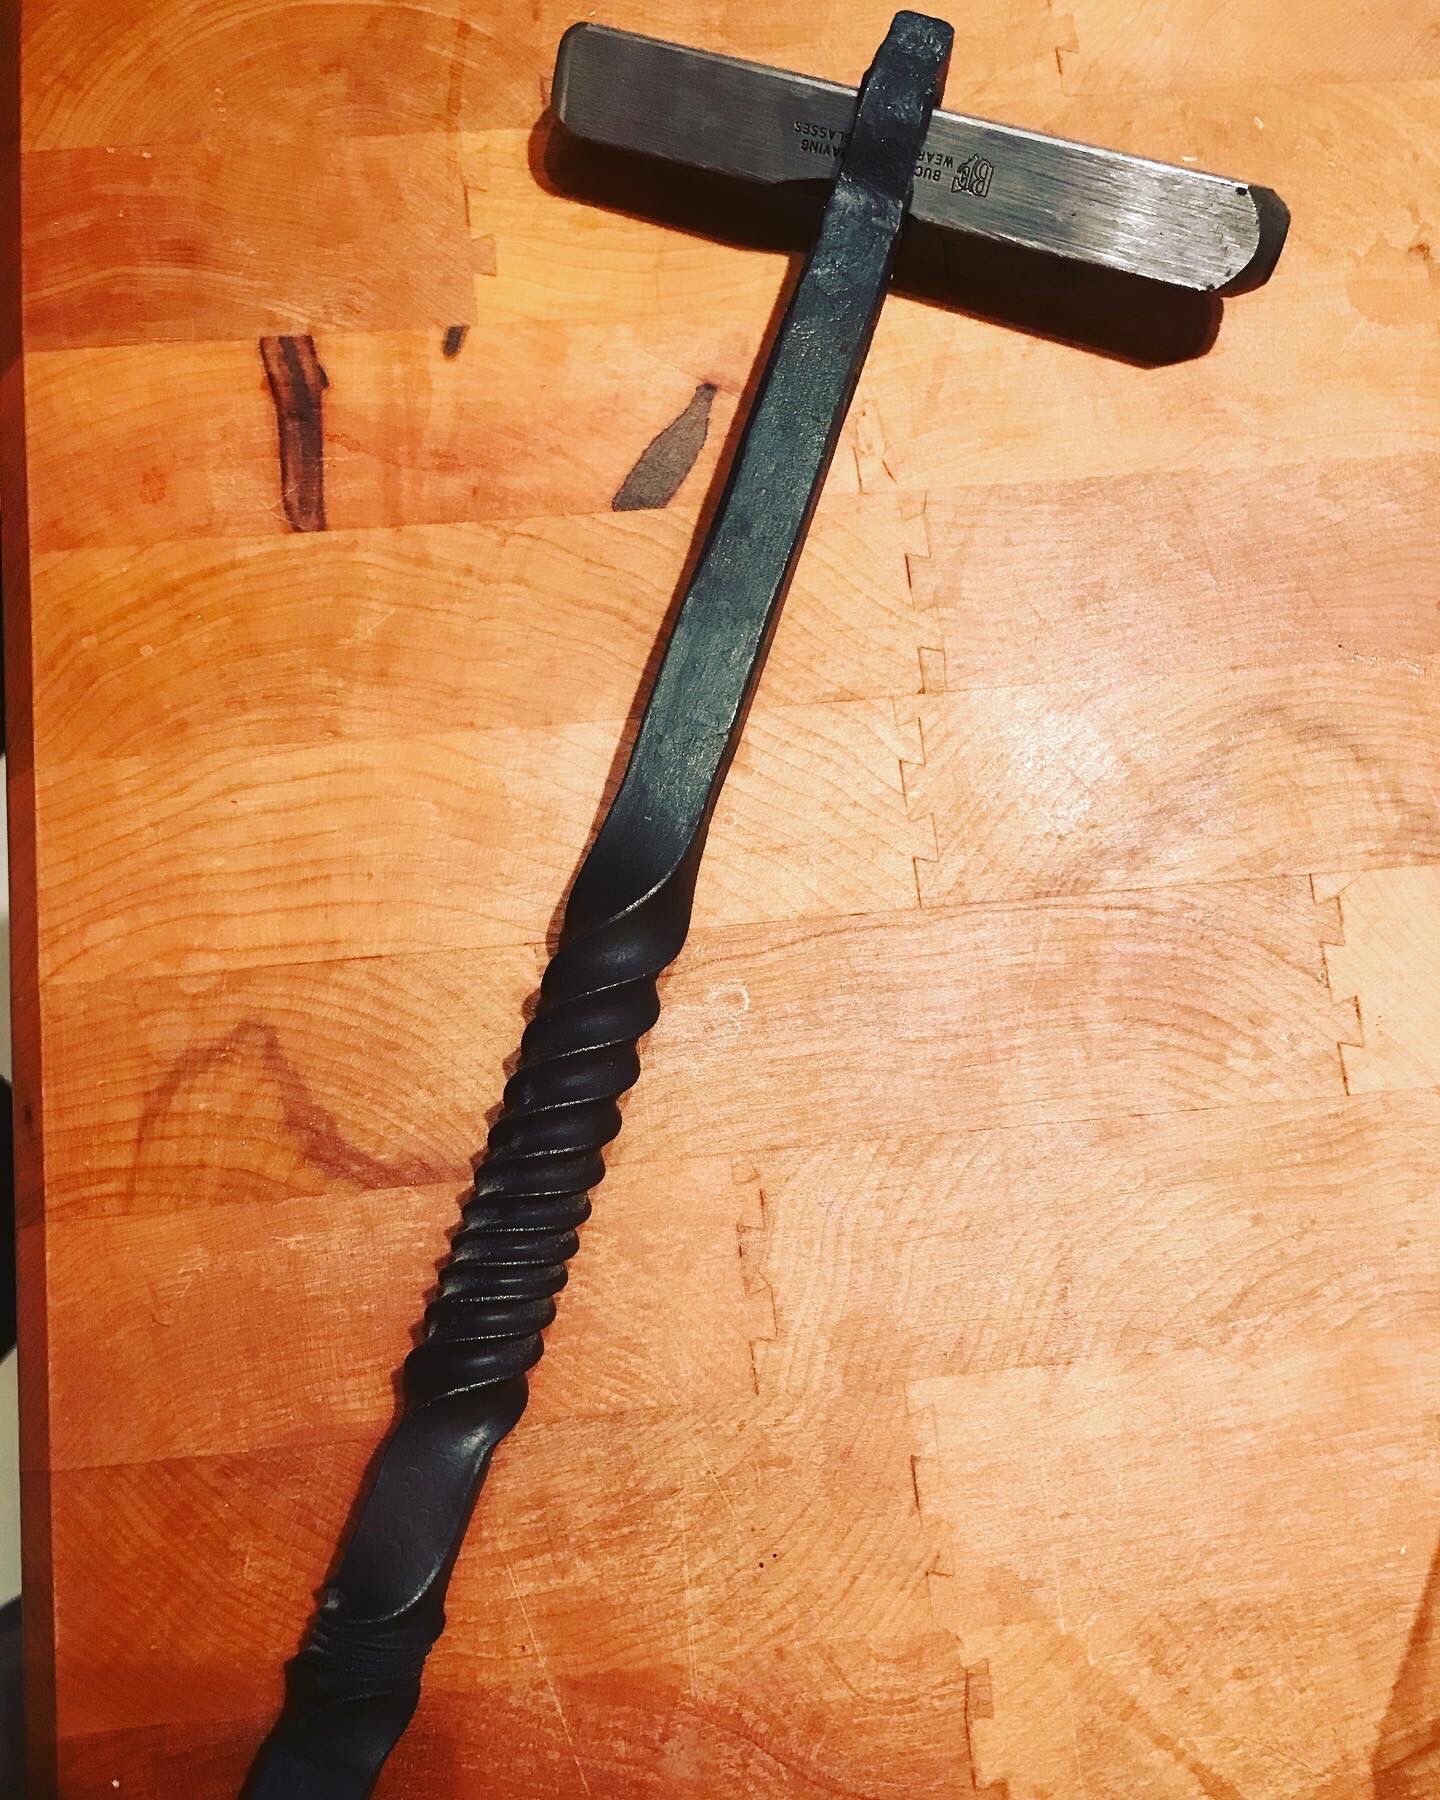
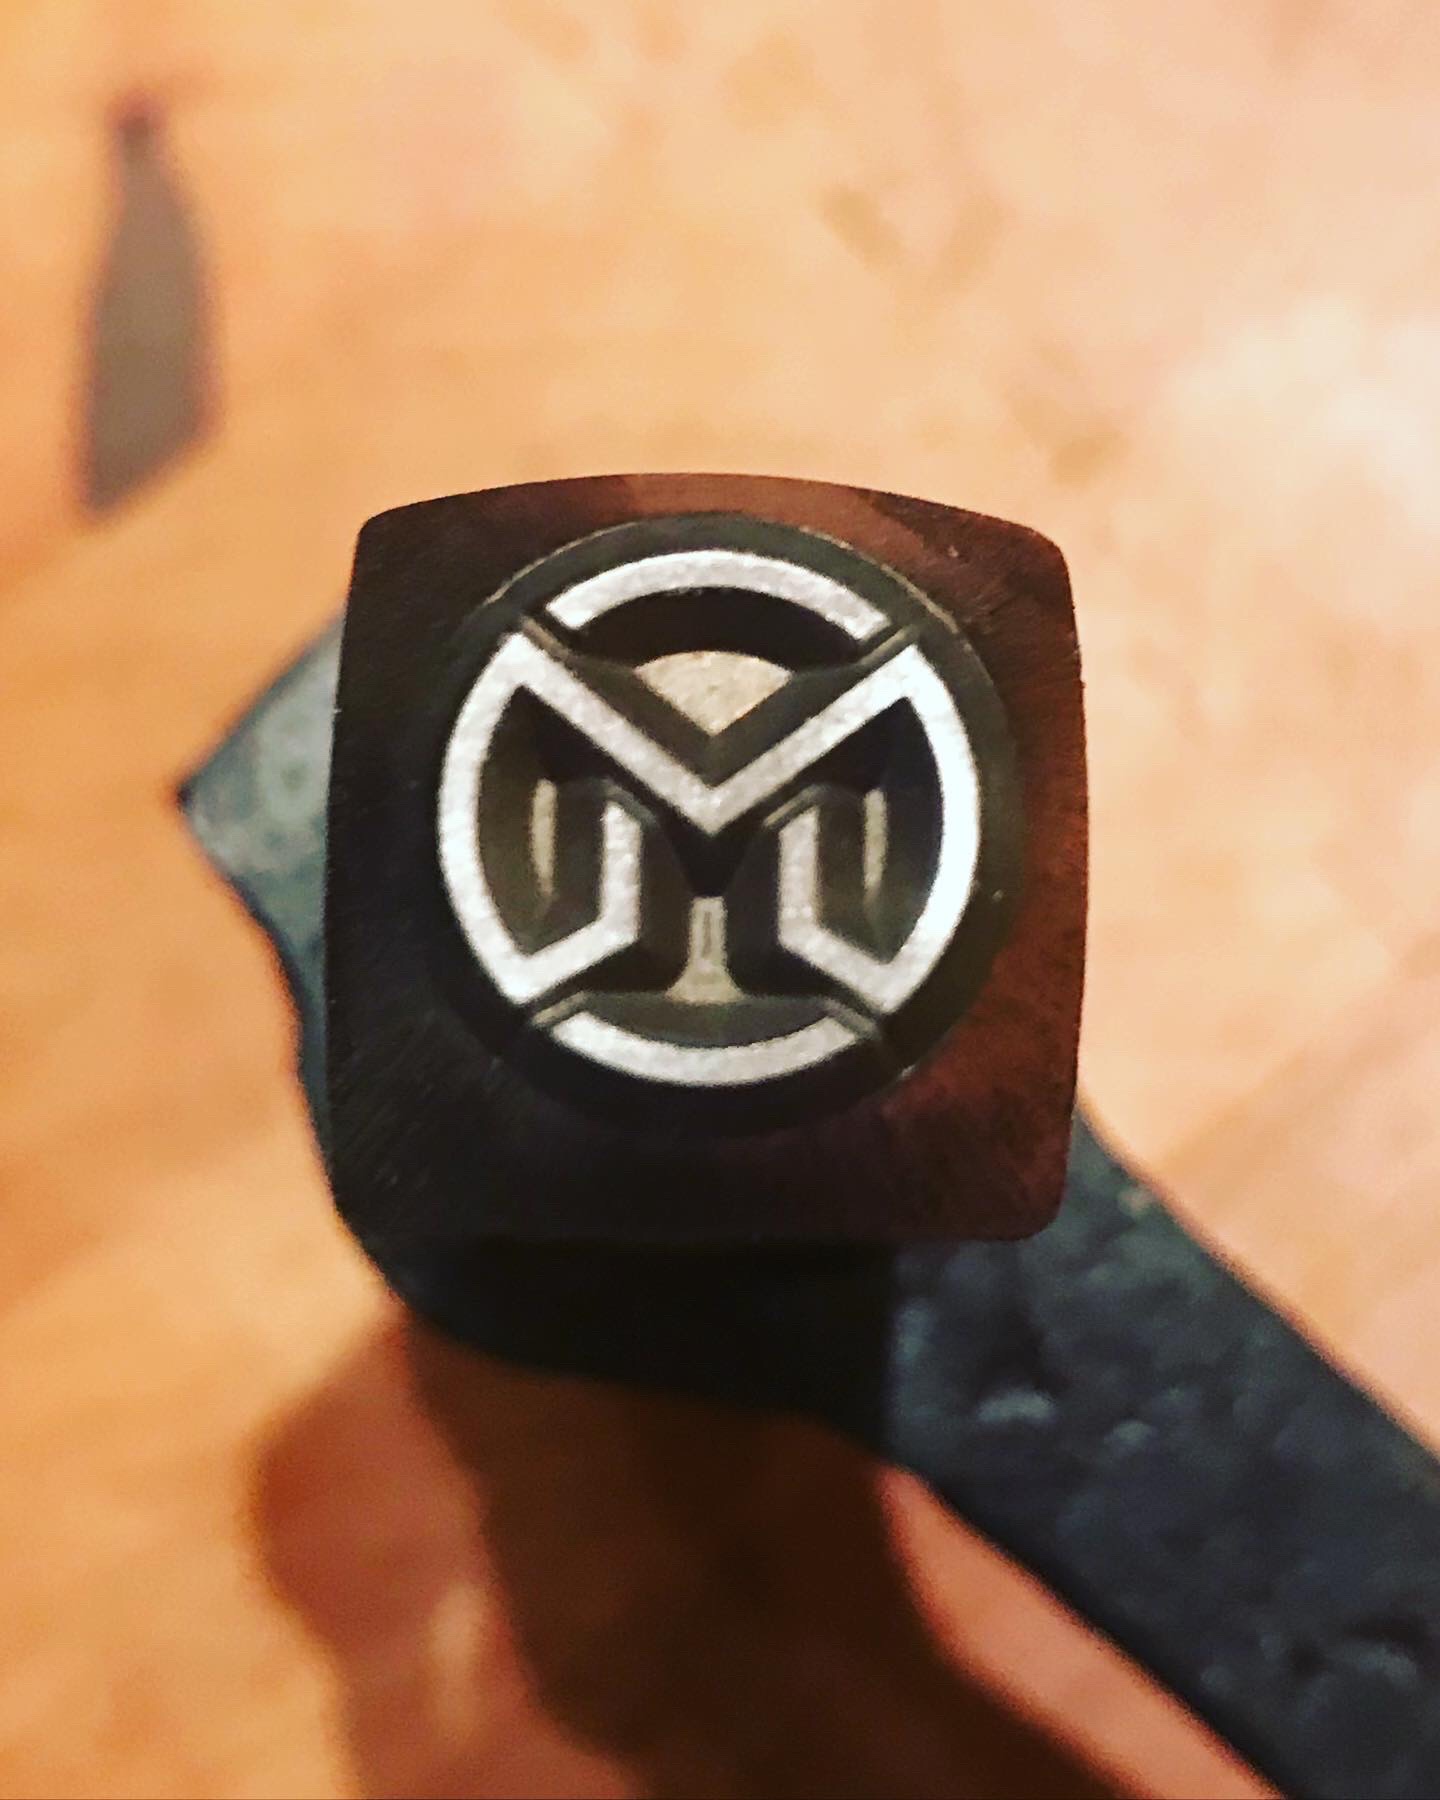
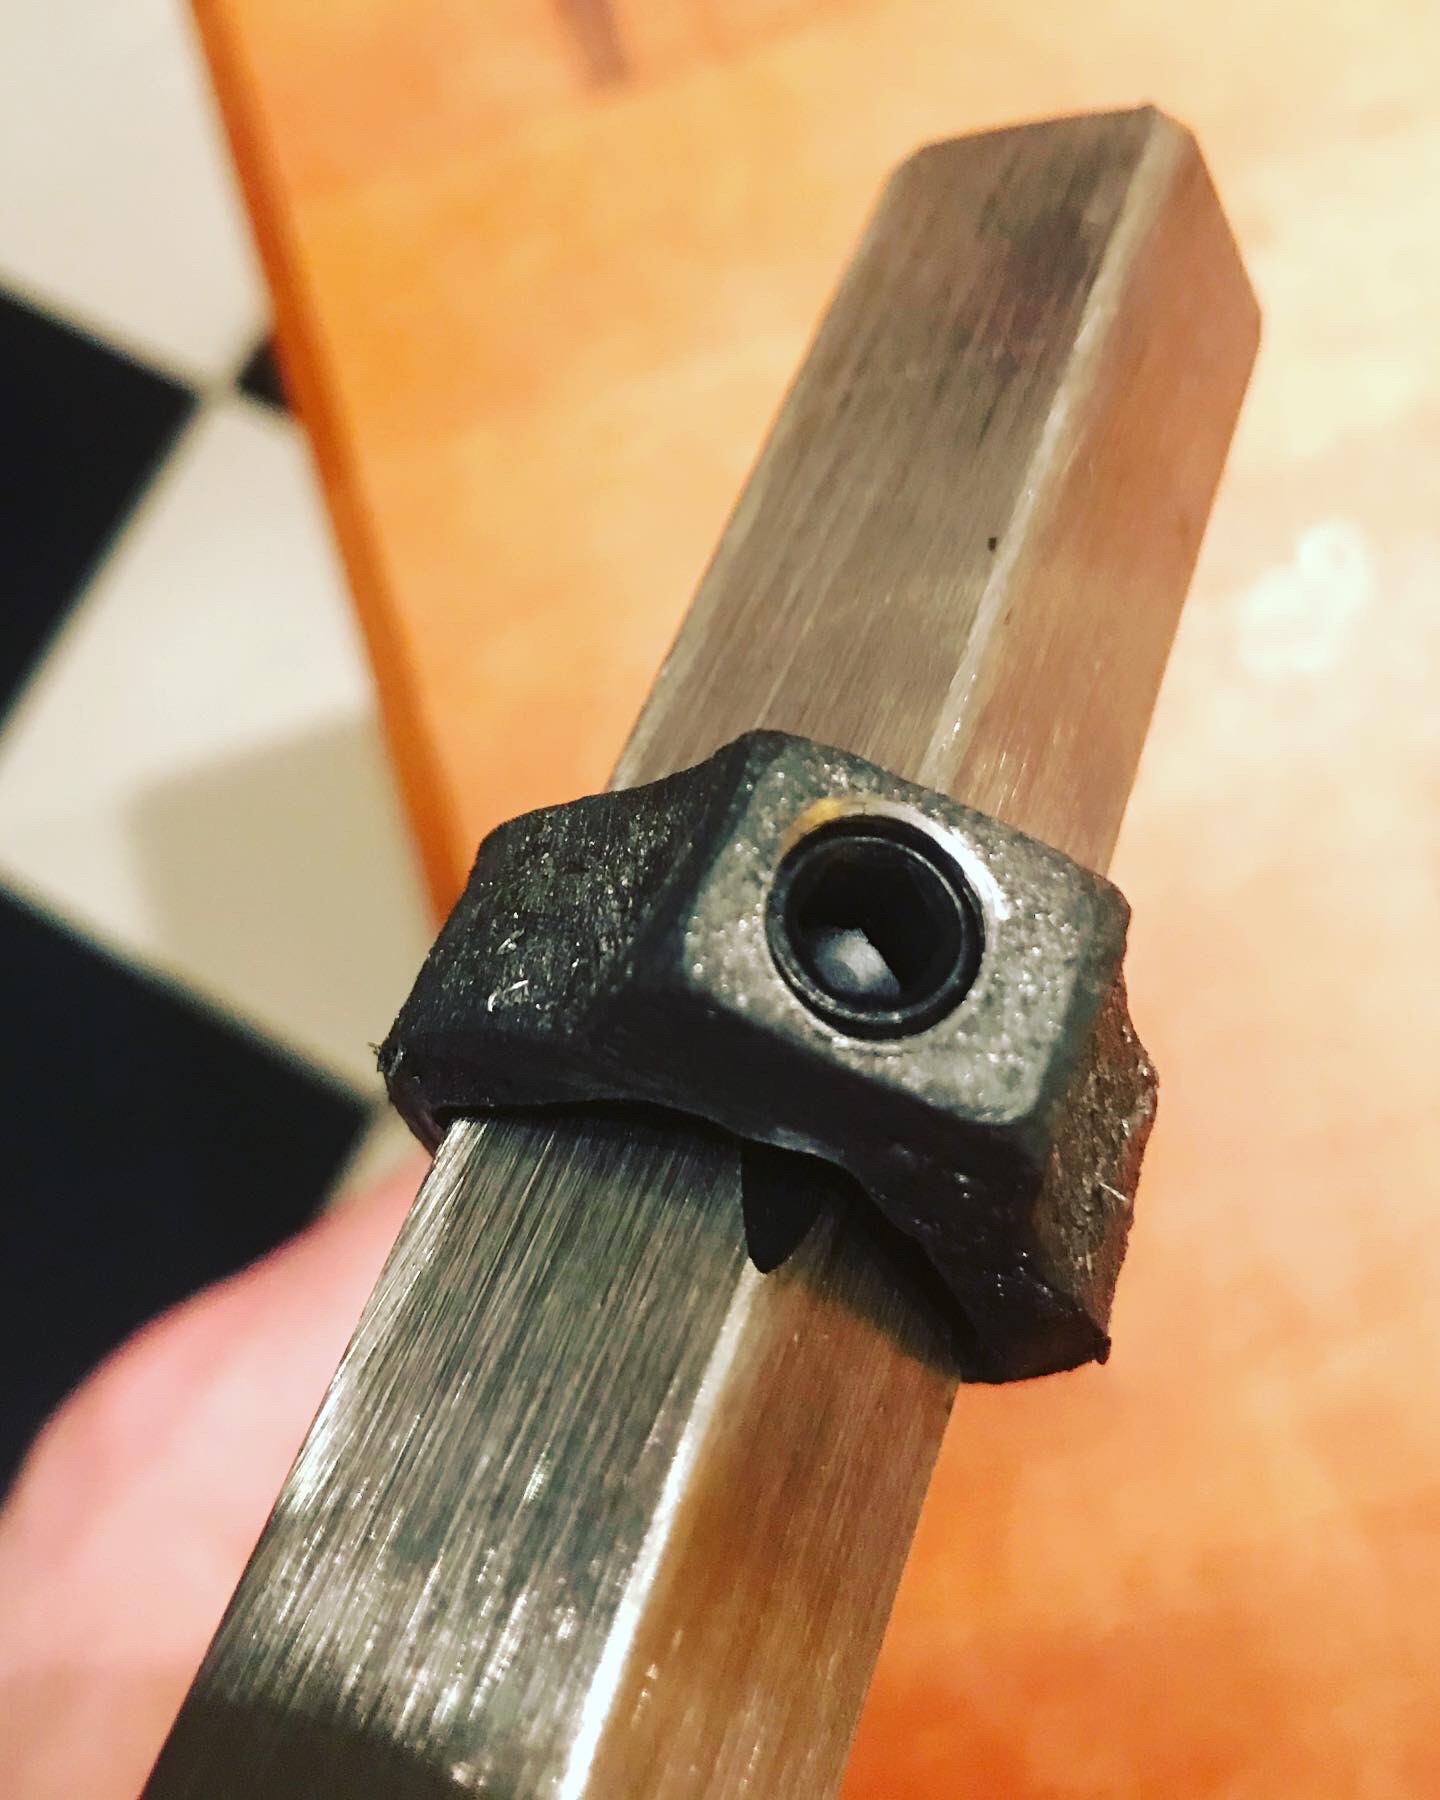
Made a handle for my touchmark this past weekend. Slit and opened some 3/4” square bar. Puts some twists on the handle, then drilled & tapped the extra bit of material I left on the nose of the bar. Ground a corner and installed a set screw to hold it SOLID. The diagonal orientation of the handle makes it easy to line up with my left hand while swinging a 5-pounder with my right.
No more smushed finger, light/double touch marks, or burnt pinkie for this feller.
I put together a new propane forge for my blacksmith shop at the house. For reasons discussed in the video as well as portability, I went with the Ellis 8-HT Forge. I had some experience with it and knew that it would exactly fit my needs at a price that I could swing. I saved my allowance for three months and bought it at full retail from High Temp Tools, as I am 100% unsponsored.
The purchase, shipping, and after-the-sale customer service all went smoothly and my forge arrived mostly built and without a scratch. The welds were tight, all the pieces were there, no damage whatsoever, and there were enough lining materials for probably two full linings.
I spent a few nights after work and one Saturday afternoon lining and curing the interior. In about a week after I opened the shipping box, I was heating steel and making my anvil ring a little. My first project was a small bottle opener that I made from some scrap 1/2″ square bar that I gave away on my Instagram page.
Very happy with the forge and will continue to torture test it over the winter and report back my findings in a followup video.
The video documents the assembly whole process, but if you have questions, drop me a line.
My Instagram:
I have a project in the works: Building a new cutting torch cart! My current cart is a source of shame. I bought it well-used from an estate years ago, thinking that the bottles alone were worth the asking price the torch, hoses, tips, and other brand ne accessories were icing on the cake. I had initial ideas about beefing it up, replacing the wonky wheels, adding safety chains, etc. Very quickly though, it became clear that “fixing it up” was more trouble and expense than it was worth. I have just made due and ignored it as much as possible. The cart stands today like it did when I first rolled it home: a kludged together semi-functioning death trap waiting to drop a bottle and provide my wife a life insurance check.
I ran out of oxygen and my acetylene was low one recent Saturday morning, so I went to the welding shop to swap them out. While there, the idea of buying a new cart tickled its way into my brain. Their carts are geared to professional welders, weigh a ton, are huge, and meant for years of hard jobsite use – way overkill for my needs. I decided to check Harbor Freight on my way home and was very much unimpressed with the quality of their torch carts and both of their available models had pneumatic tires! WTF?! Do you really want a flat on a mobile piece of equipment that holds explosive gas? Nope, nope, nope. I decided to build my own.
I did some initial concept sketches and then opened AutoCAD for some part design. Next step is to put this on the plasma table and get everything cut out.

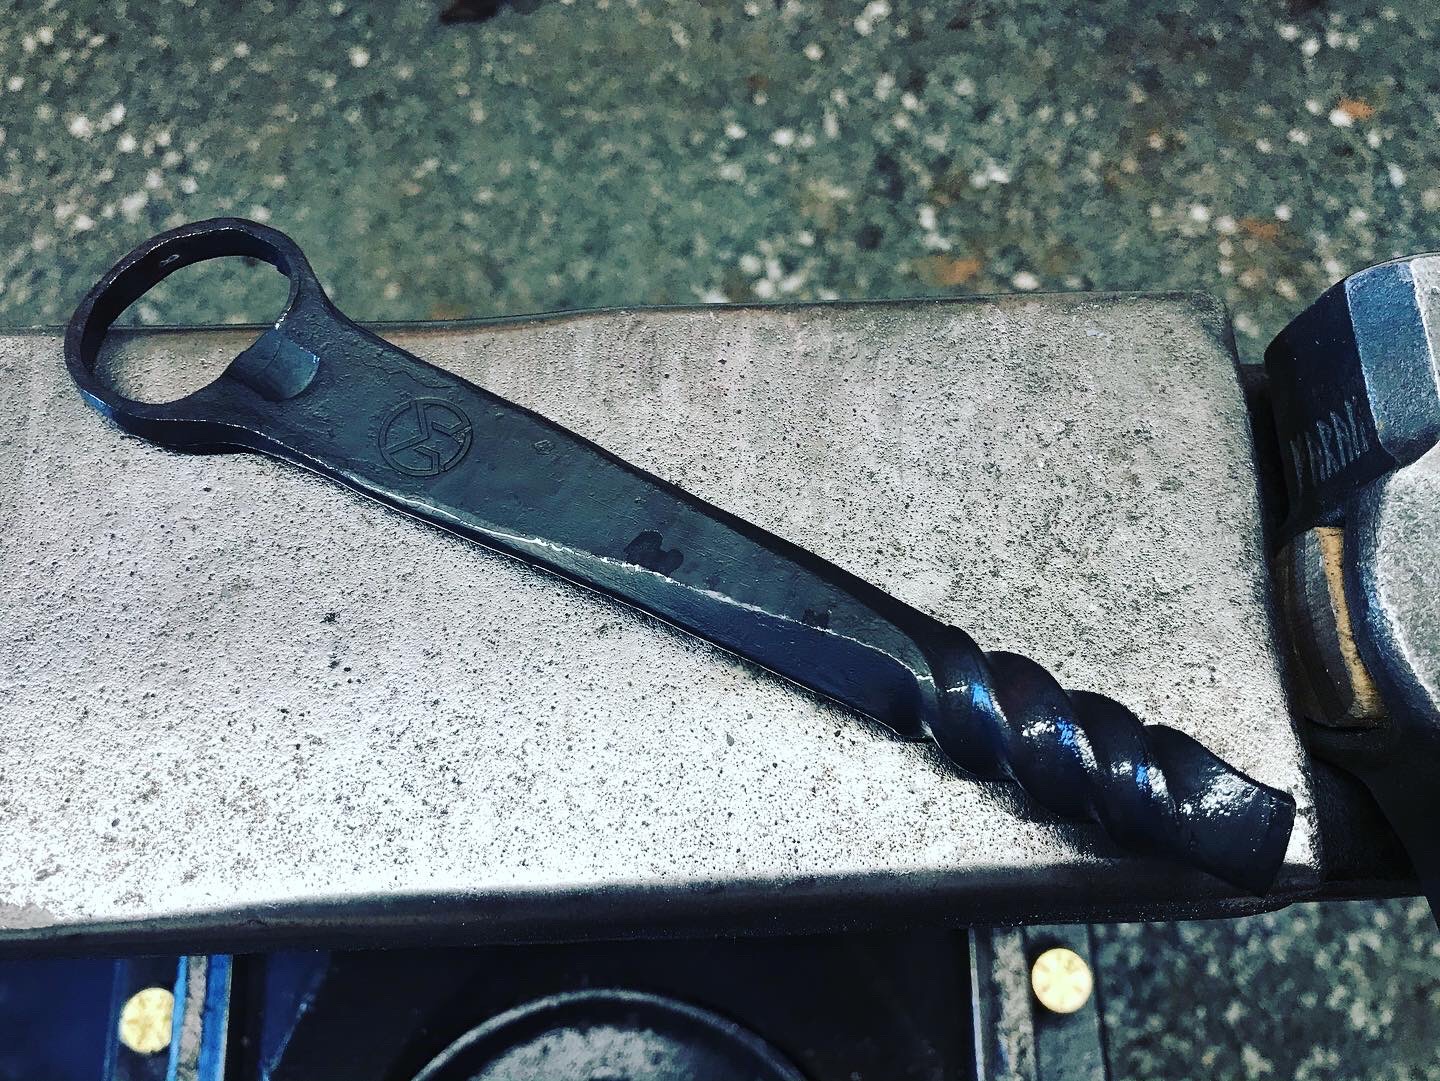
New propane forge is finished! Forged a beer bottle opener first thing and giving it away!!
Head over to my IG and tell me your best brewery visit story or most obscure beer that you have had and it could be yours.
https://www.instagram.com/p/CKNr3y9DOqp/?igshid=1vy24838h9bza
I have a canoe that didn’t see as much use as it should have this past year and it has been just moving from one side of the yard to the other taking up space, occupying sawhorses, and just getting in the way. Normally, it is on and off the car for camping trips so I don’t mind moving it constantly to and fro, but this was a lot of moving with little usage. I decided it was high time to build a storage rack to keep it out of my way and so that when we do start using it again, the canoe will have a specific out of the way spot to return to after each trip.
I bought some steel just before Christmas and used my holiday break to take car of some long overdue welding projects – the canoe rack being one of them. Instead of just building a triangle and bolting it to the side of the garage, I added some flair by adding gussets with my logo laser cut out of their center and by using the Hulk Roller from SWAG to arch the support leg. It makes the rack look better AND it keeps me from smacking my head when walking by when I am mowing the grass in the back yard.
I mention in the video that I would share a drawing, but I don’t think it needs one. The whole thing is made of 1” tube (.125” wall) and main leg is 60” long, the canoe support is 29” long and welded in the center of the first piece. The arch was rolled to a 10.5’ diameter, ends cut on the Portaband to taper into the arms, and the gussets are 5”. I welded all the seams and welded 1” squares to the top and bottom of the main arm to close it up. On the canoe support arm, I welded a 2X3” piece of 1/4” steel with a 1/4” hole to tie the canoe down if it is ever super windy. Each is attached to the header above the windows with two HeadLOK lag screws and then attached to the wall in two other places with 3.5” deck screws. The thing is super strong My gussets were custom (email me if you want some), but I can’t recommend the ones from Motobuilt highly enough!
I have had my SWAG Hulk tubing roller for almost three years and use it all the time in the shop – for almost every fabrication or welding project that I take on. I realized that I had not done a review or an overview of it after a question about it on my Instagram page. I figured that it was time for both. Like every tool I have from SWAG, this one just works. It helps me earn a little money for my side hustle and is as dependable as an auditor’s calculator.
Any time I have had a question, the guys at SWAG have replied right away and are super helpful – once talking me out of a die I was trying to buy and letting me know that one that I already owned would do exactly what I needed. They include the DRO with purchase of the roller. While you don’t “need” it for one-off bends, it is amazing for making repeated bends and for streamlining any repeated build processes. Installation is really strait forward. If you run out of battery juice (CR-2032 Button Cell Battery), a pencil mark on the inside body will get you in the ball park, but your local drugstore or Home Depot/Lowes/Menard’s will have the extra batteries if you need them right away and can’t wait for the mail/Amazon.
The bender was ready to go out of the box when it arrived, no welding, bolting plates together, or finishing. You will have to mount it to a solid surface, attach the DRO, and align your dies, but that is all covered in the instructions (and this video) and all the hardware for the DRO and die shaft is included. Get a friend to help move the thing as it is hefty. The roller is not cheap, BUT paid for itself with the second job I did with it and I have continued to buy different dies as projects come up, rolling up the die cost into the job. I have 14 different die sets now, but 95% of everyone out there only needs 2-3 sets and the first set comes with the roller when you purchase it – your choice of which. If you are really only using a couple of sets of rollers, then buy some additional shafts and just keep them mounted. I would advise buying an extra set of bearings as well. In three years of use, I have not had to replace mine, even bending out-of-spec 2”X2”X0.25” square tubing, but if I ever do, then I will want a replacement set handy. If you find that you are using the roller all the time and on the job site, then a couple of extra shafts, extra bearings, an extra drive shaft, and a way to keep your dies safe would be cheap insurance – my $0.02 worth.
Speaking of dies, I had shoulder surgery and was out of commission to do any heavy work for some months, so I took the time to sort out my fabrication tools chests, organize my roller dies into a single rolling tool chest, and make organizing inserts for them. I got tired of chasing them all over the shop, misplacing the ONE set I needed, etc…. I am pleased with the results and that process and outcome are included in the video. Remember to keep you dies oiled, both when using and while in storage – a nice thick coat in storage of RP-342 (cosmoline) wouldn’t hurt…
Hex Wrenches needed to swap the dies: 3/16” and 5/32”
You will also need a 1/8” and a 1/4” hex wrench handy when setting up your Hulk Roller.